Building the Enclosed Garden
From the first posts to a garden in full growth.
Shop this department ↓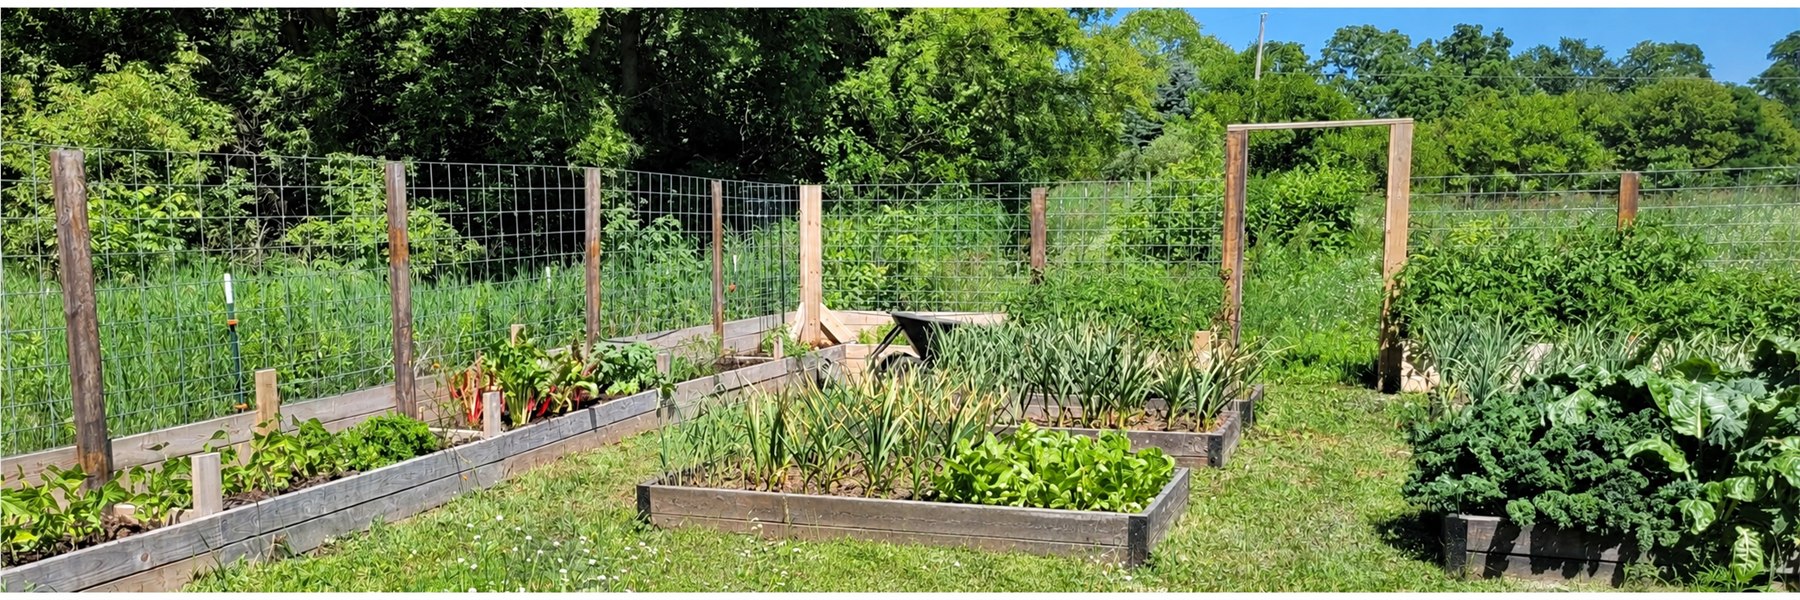
The Plan
When we brought the horses home (opens in a new tab), there was a lot of trial and error to find the right pasture space for everyone. Velma, who easily jumped the 4-foot pasture fence, was awarded the area in front of the Small Barn that was home to our Market Garden. I wanted to continue growing, albeit on a much smaller scale, so the garden needed relocating. I have always loved enclosed gardens, so I saw the garden relocation as an opportunity. And I had learned my lesson from the year we had a fenceless garden!
When I began planning the garden in 2025, my husband was busy getting our equipment prepared for hay season. I wanted to make sure the project was one I could build with little help from him. I started by deciding what I wanted to grow and estimating the quantities and planting space needed. In addition to my standard vegetables, I wanted to add grapevines, blueberry bushes, strawberry plants, and brambles. I knew I wanted to incorporate herbs and flowers, too. I estimated the square footage I would need, and then added a smidge more because...gardening. (IYKYK)
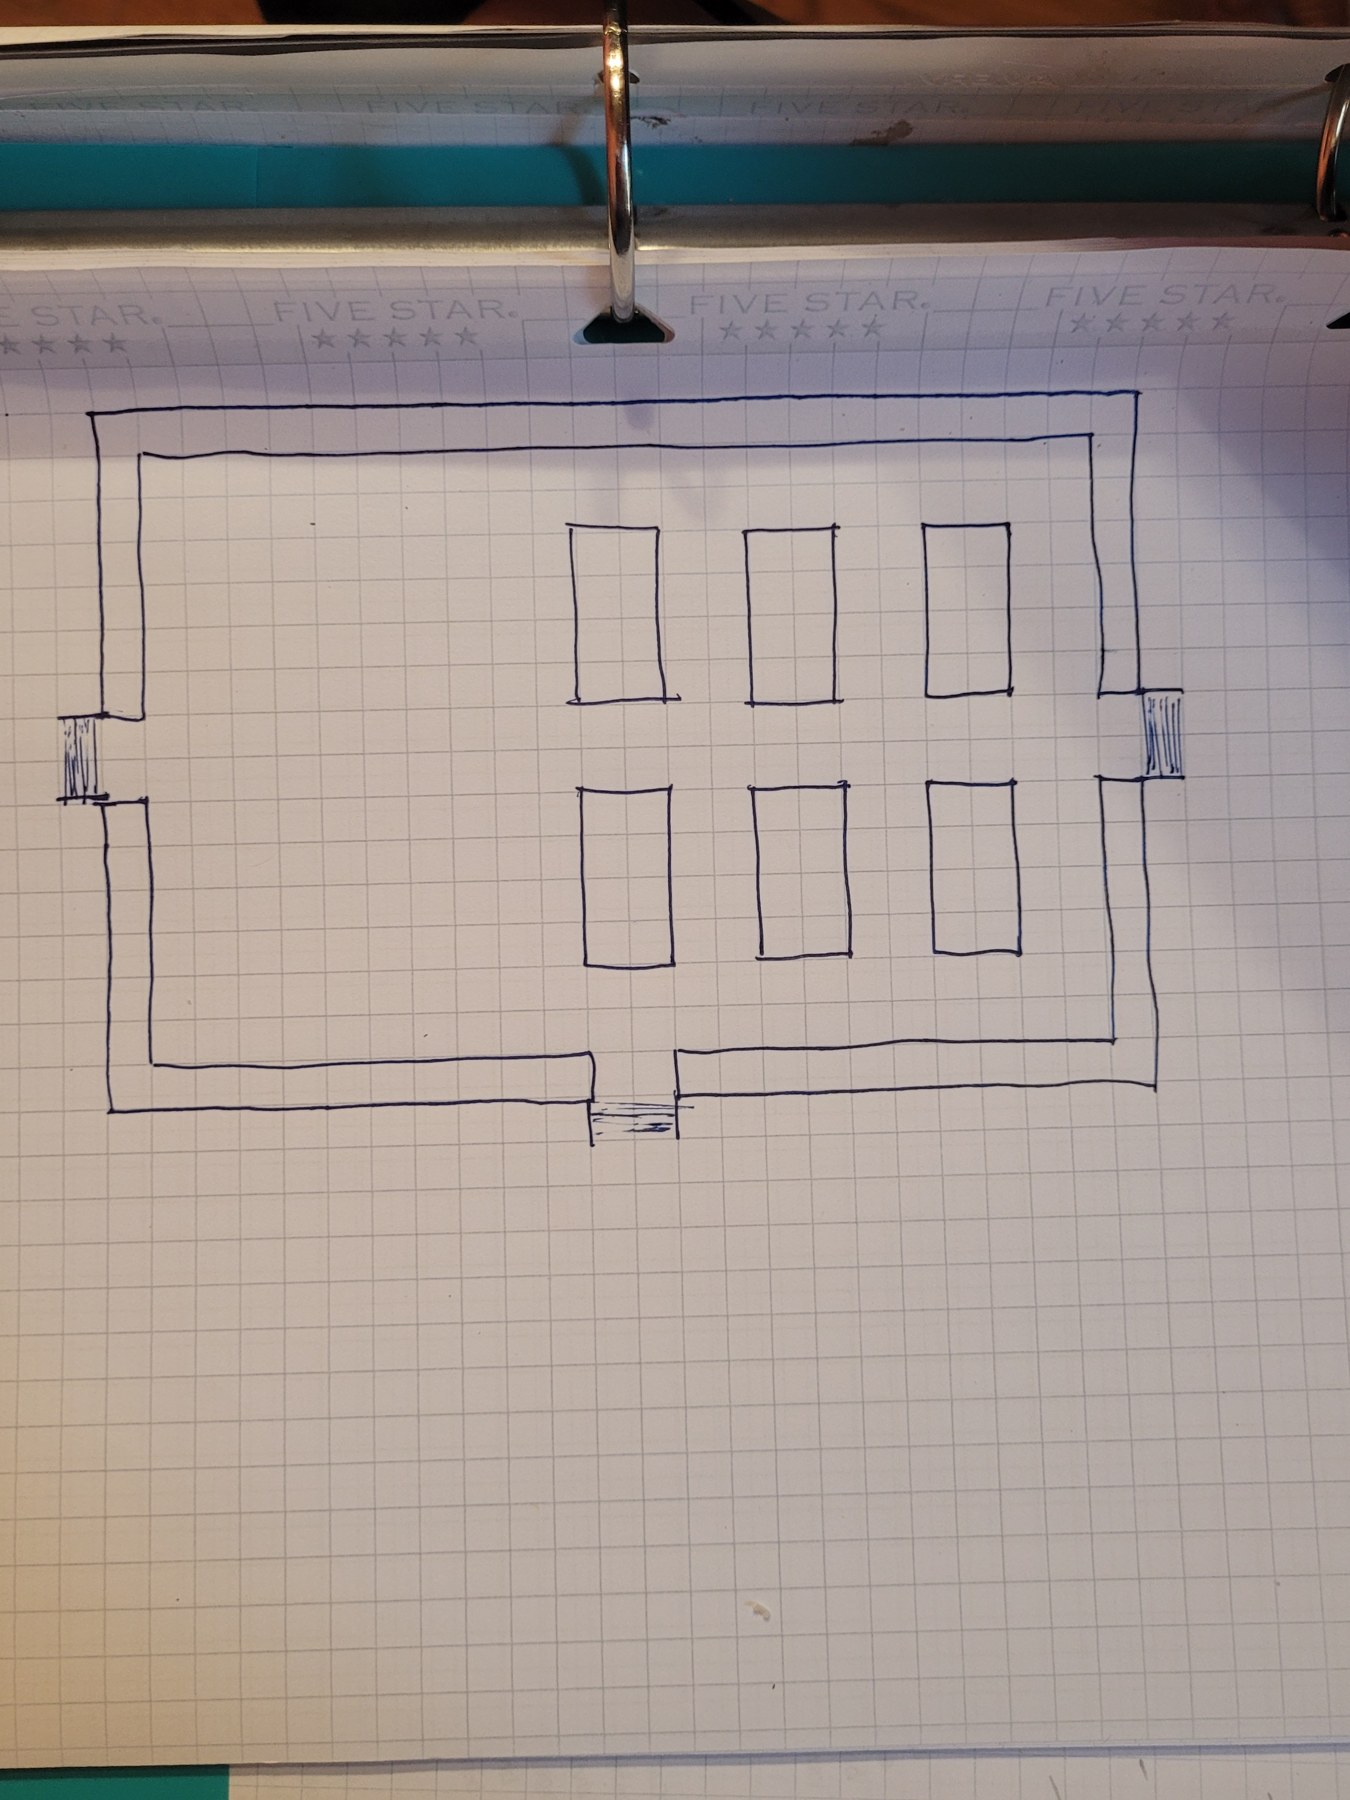
I decided on a raised-bed perimeter with cattle panels to keep deer out while letting sun in. I wanted multiple entries—all centered, of course—with arbors for vines. The front entry is the visual anchor for the garden. The arbor on the west side might eventually have the job of holding a hammock swing. I am most excited about the East Arbor. That currently leads to a row-crop garden (or it will when I plant row crops in 2027!), but eventually, I want it to lead to a greenhouse!
Inside the garden, I wanted to break the space up visually. Raised-bed islands would occupy half of the interior, and the bushes, vines, and brambles would occupy the other half. The herbs and flowers would be incorporated both inside the beds and along the outside perimeter. This was the plan, anyway.
The design was intentionally simple, both so that I could build it myself and so that it would be built quickly enough to be used for the 2026 growing season.
Building the Enclosure
Taking precise measurements and making exact cuts are not particular strengths of mine. So, for ease of math and execution, I tried to use only 4-foot and 8-foot lengths. This was also handy because cattle panels are 16 feet long.
I started the island beds and perimeter enclosure in the fall of 2025. The Outdoor Arena had just been completed.
The island beds are each 4 by 8 feet. I grow organically, so I did not want to use pressure-treated lumber, paint, or a chemical sealer. Instead, I coated each board with a beeswax sealer. This was a very time-consuming, monotonous task, but my husband said that if I did nothing, the beds would not even last five years. I used corner braces both for aesthetics and to help make sure my corners were square.
I did not put in a foundation or dig the posts deep into the ground. Perhaps leveling the structure would have been easier if I had, but the clock was ticking!
I started by marking the corners of the enclosure so it was square to the fence directly behind it. One of the most frustrating aspects of our farm is that neither the Small Barn nor the Big Barn is square to the property lines! So when orienting new structures, such as the arena and this garden, a choice must be made: square to the barn or the fence?
Because the fence was so close to the garden, I squared the garden to the fence. The arena, being directly adjacent to the Small Barn and far from the fence line, is square to the Small Barn. Luckily, even though the garden is only about 20 feet from the arena, you cannot tell that they are not square to each other.
Once the corners were marked, I started assembling the first layer of the exterior perimeter. I screwed together the corner boards first, without any upright corner posts yet. The boards had some give, which was necessary to get everything lined up correctly. When all four corners were assembled, I ran tape from corner to corner. That flexibility let me adjust the boards so they fell precisely on the tape.
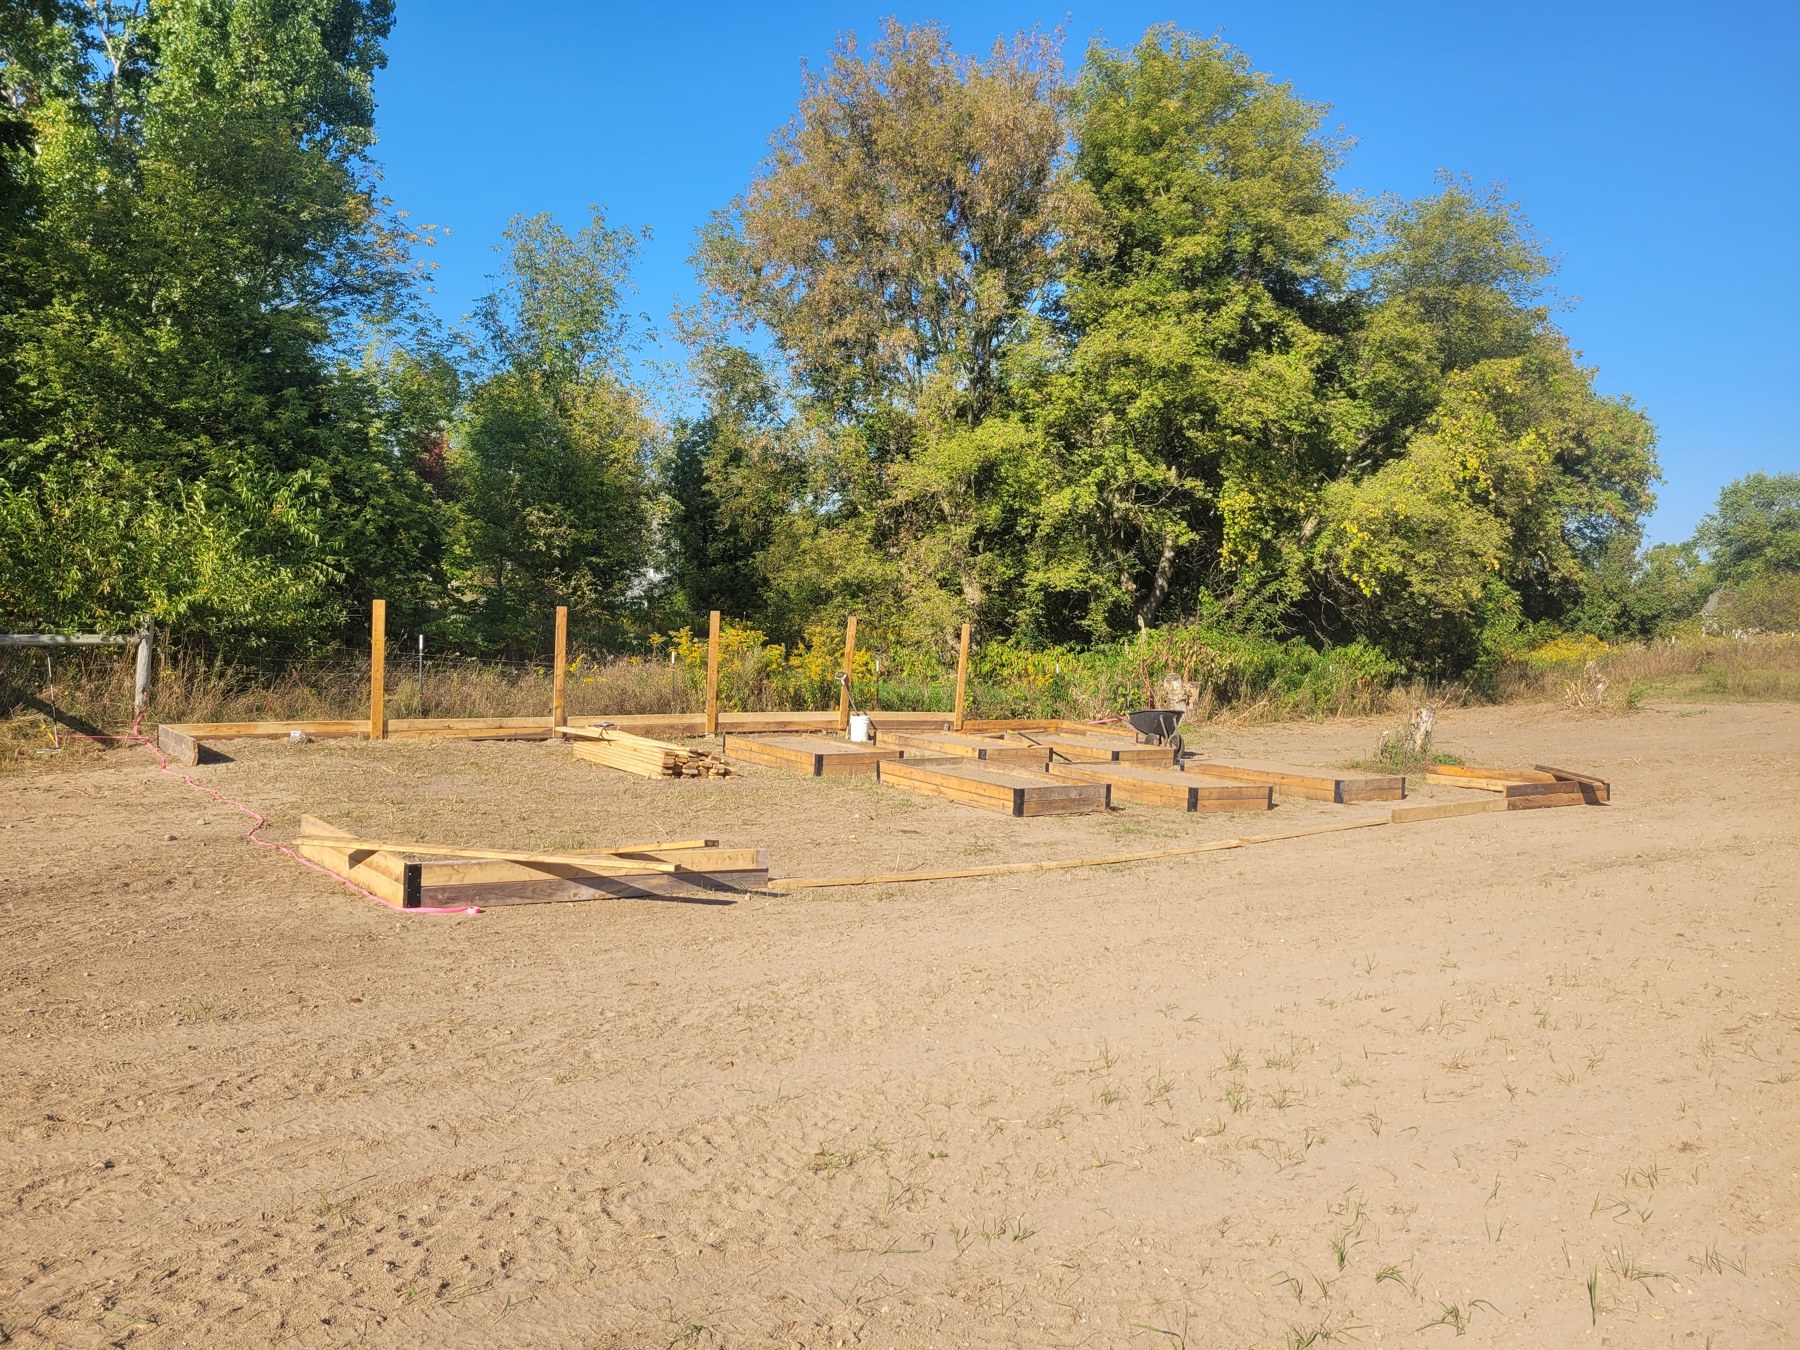
There are two things that would have made leveling the enclosure much easier: building on level ground or starting with a sand foundation. Not one to take the easy way out, I instead engaged in the laborious task of using my trenching shovel to try to make a level base. Since the back was not interrupted by an arbor, I started there. I laid each board directly under the tape line, leveled it, and then screwed it to an upright post.
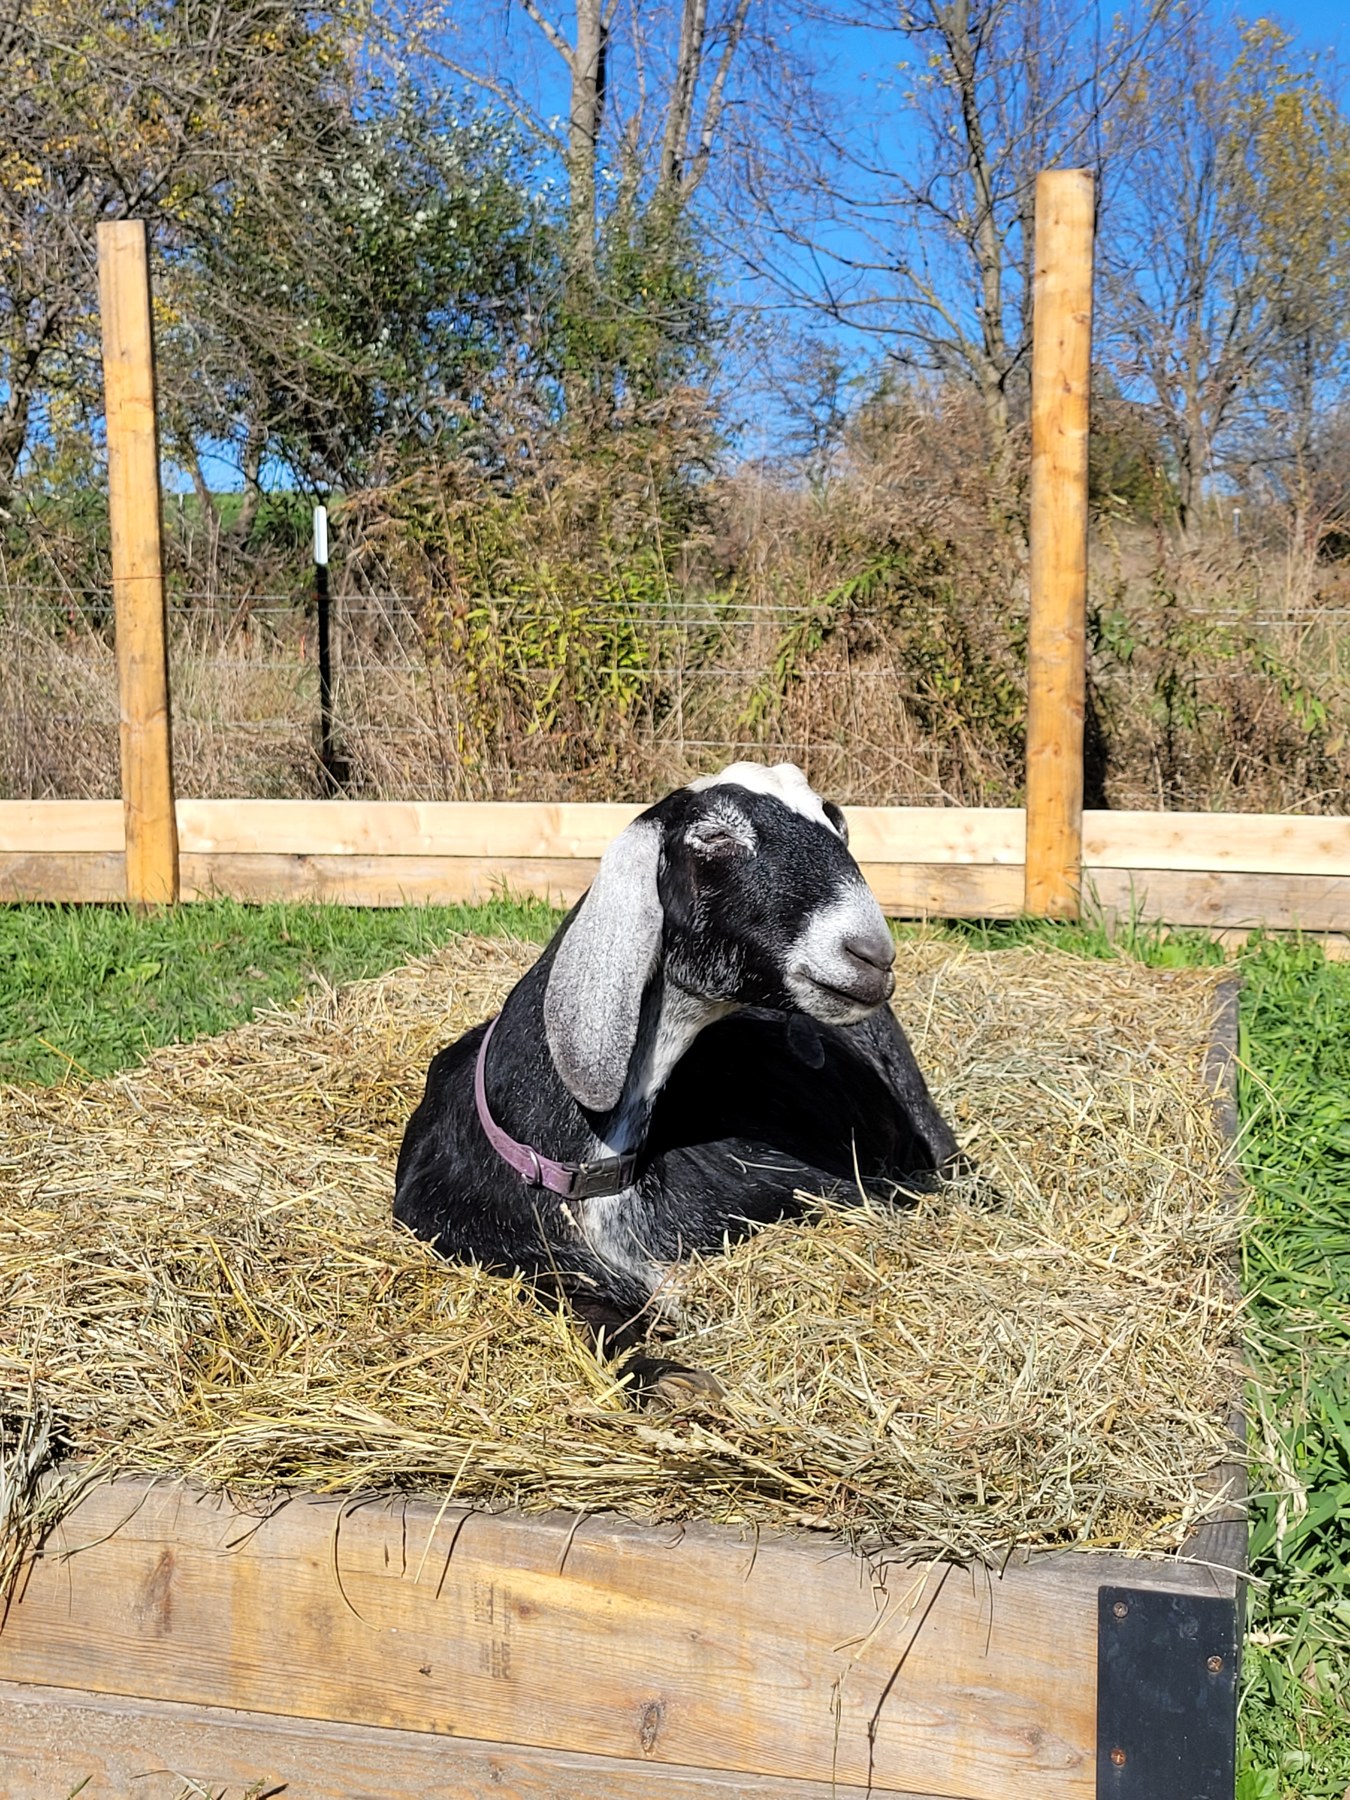
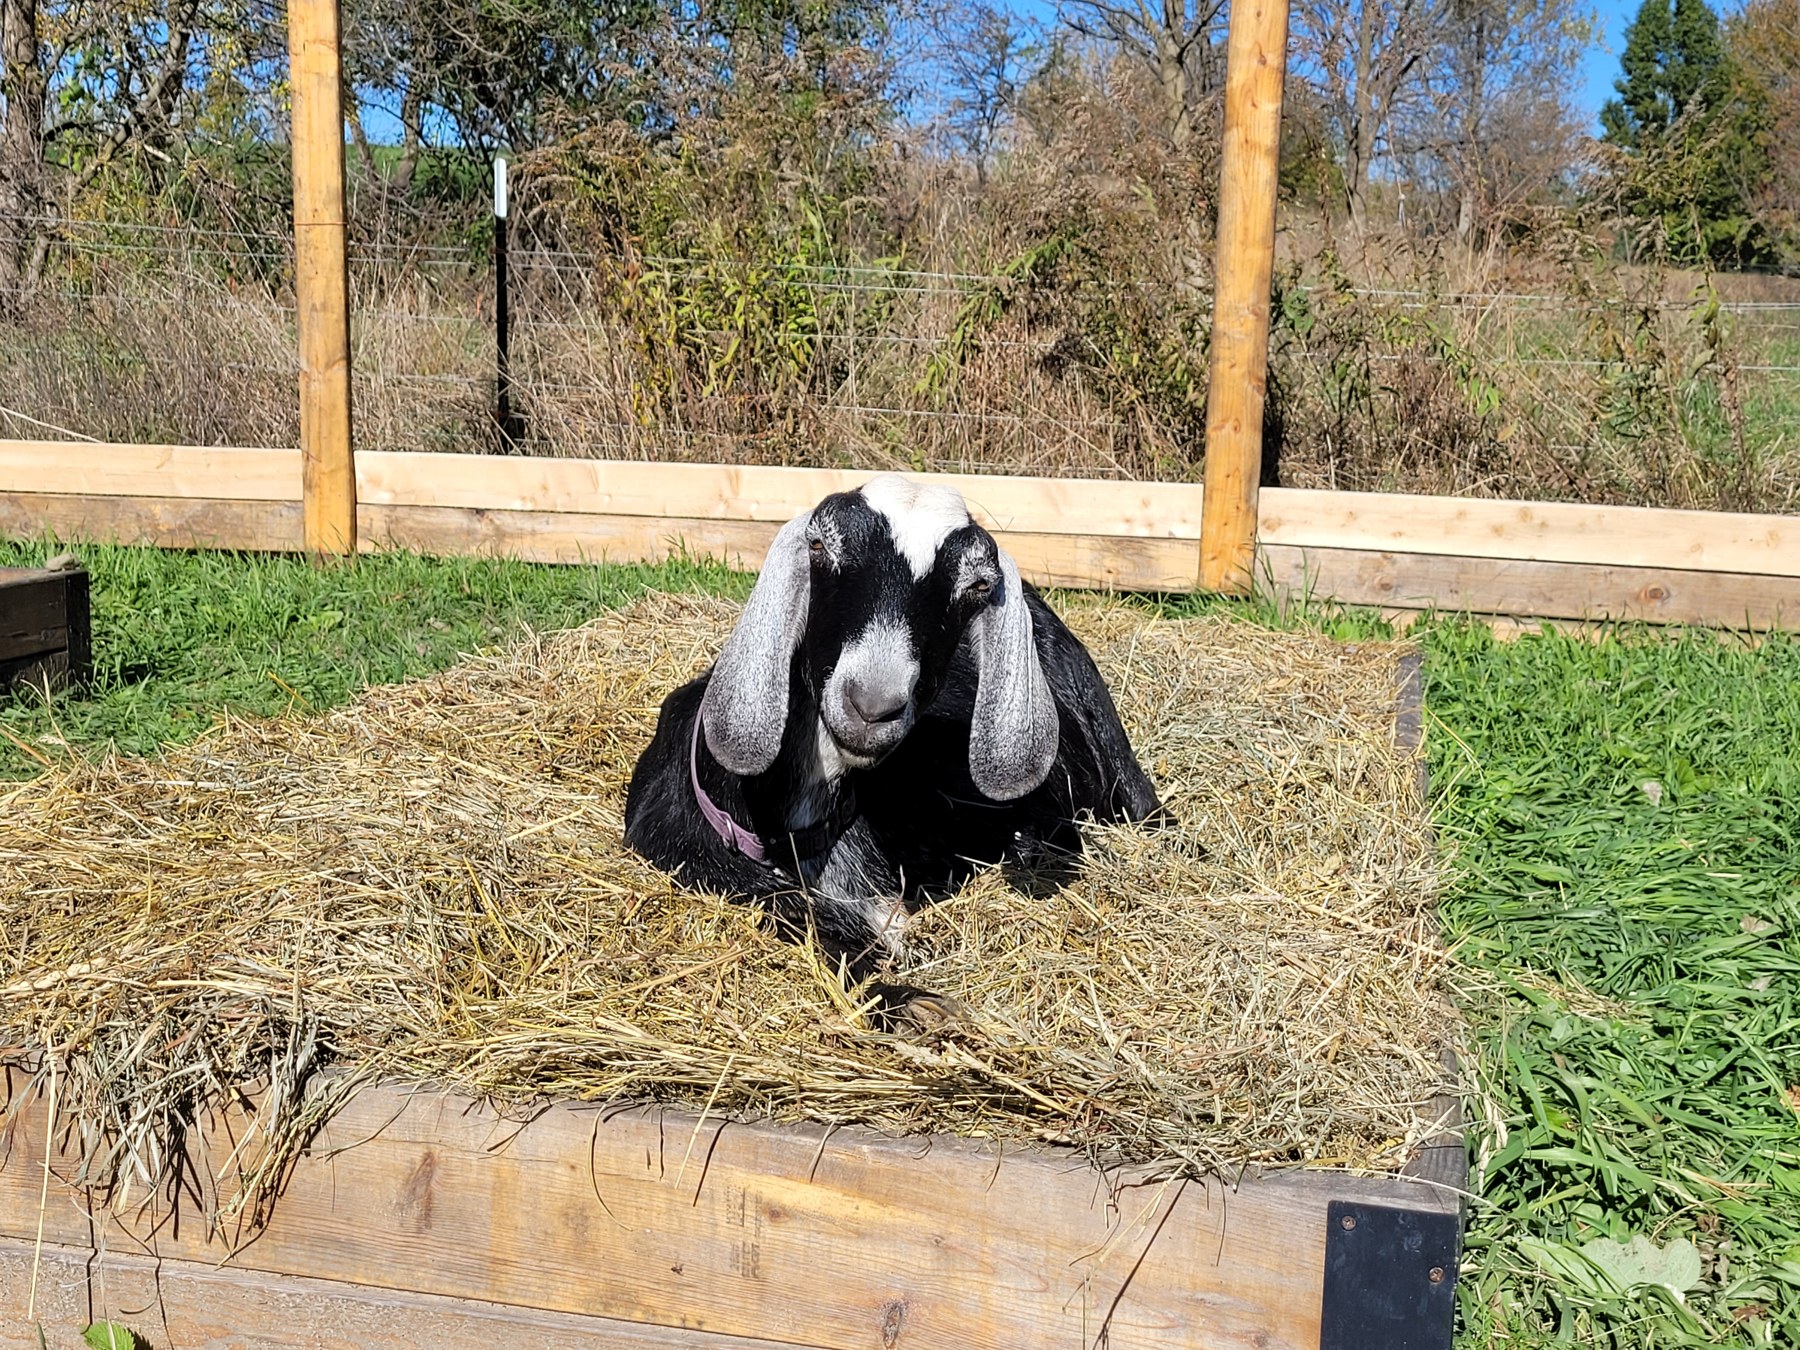
This took me from August to October. I needed to get the garlic planted, so the raised beds were already in use while the enclosure was still taking shape. I cannot explain to you why a goat was joining me for the garlic planting. Looking back, I don’t know why she was out or how she escaped. But she was good company, and I love spending time with my animals. Yara found the straw-covered garlic beds comfortable and loved soaking up the sunshine!
After two and a half months of weekend work, I proudly showed off the back line to my husband. Something you should know about my husband: he is very, very smart and has one of those engineering brains. I am quite the opposite. So when he saw my back-breaking leveling effort, he said, “Why didn’t you just use the vertical posts to level them?”
And so that is how I did the other three sides and the interior perimeter when I returned to the project in spring 2026. The horizontal bed boards needed to be level with one another, even where the ground beneath them sloped. I positioned the upright posts knowing their heights above the ground would vary, then checked each horizontal board with a level before screwing it to the posts.
Where there was a significant height difference, I raised the upright posts along the outside perimeter so the difference would not be noticeable when the enclosure was complete. I used level braces to check the front against the back. The tops of the beds stayed level across the garden, while the sloping ground gave the beds different depths.
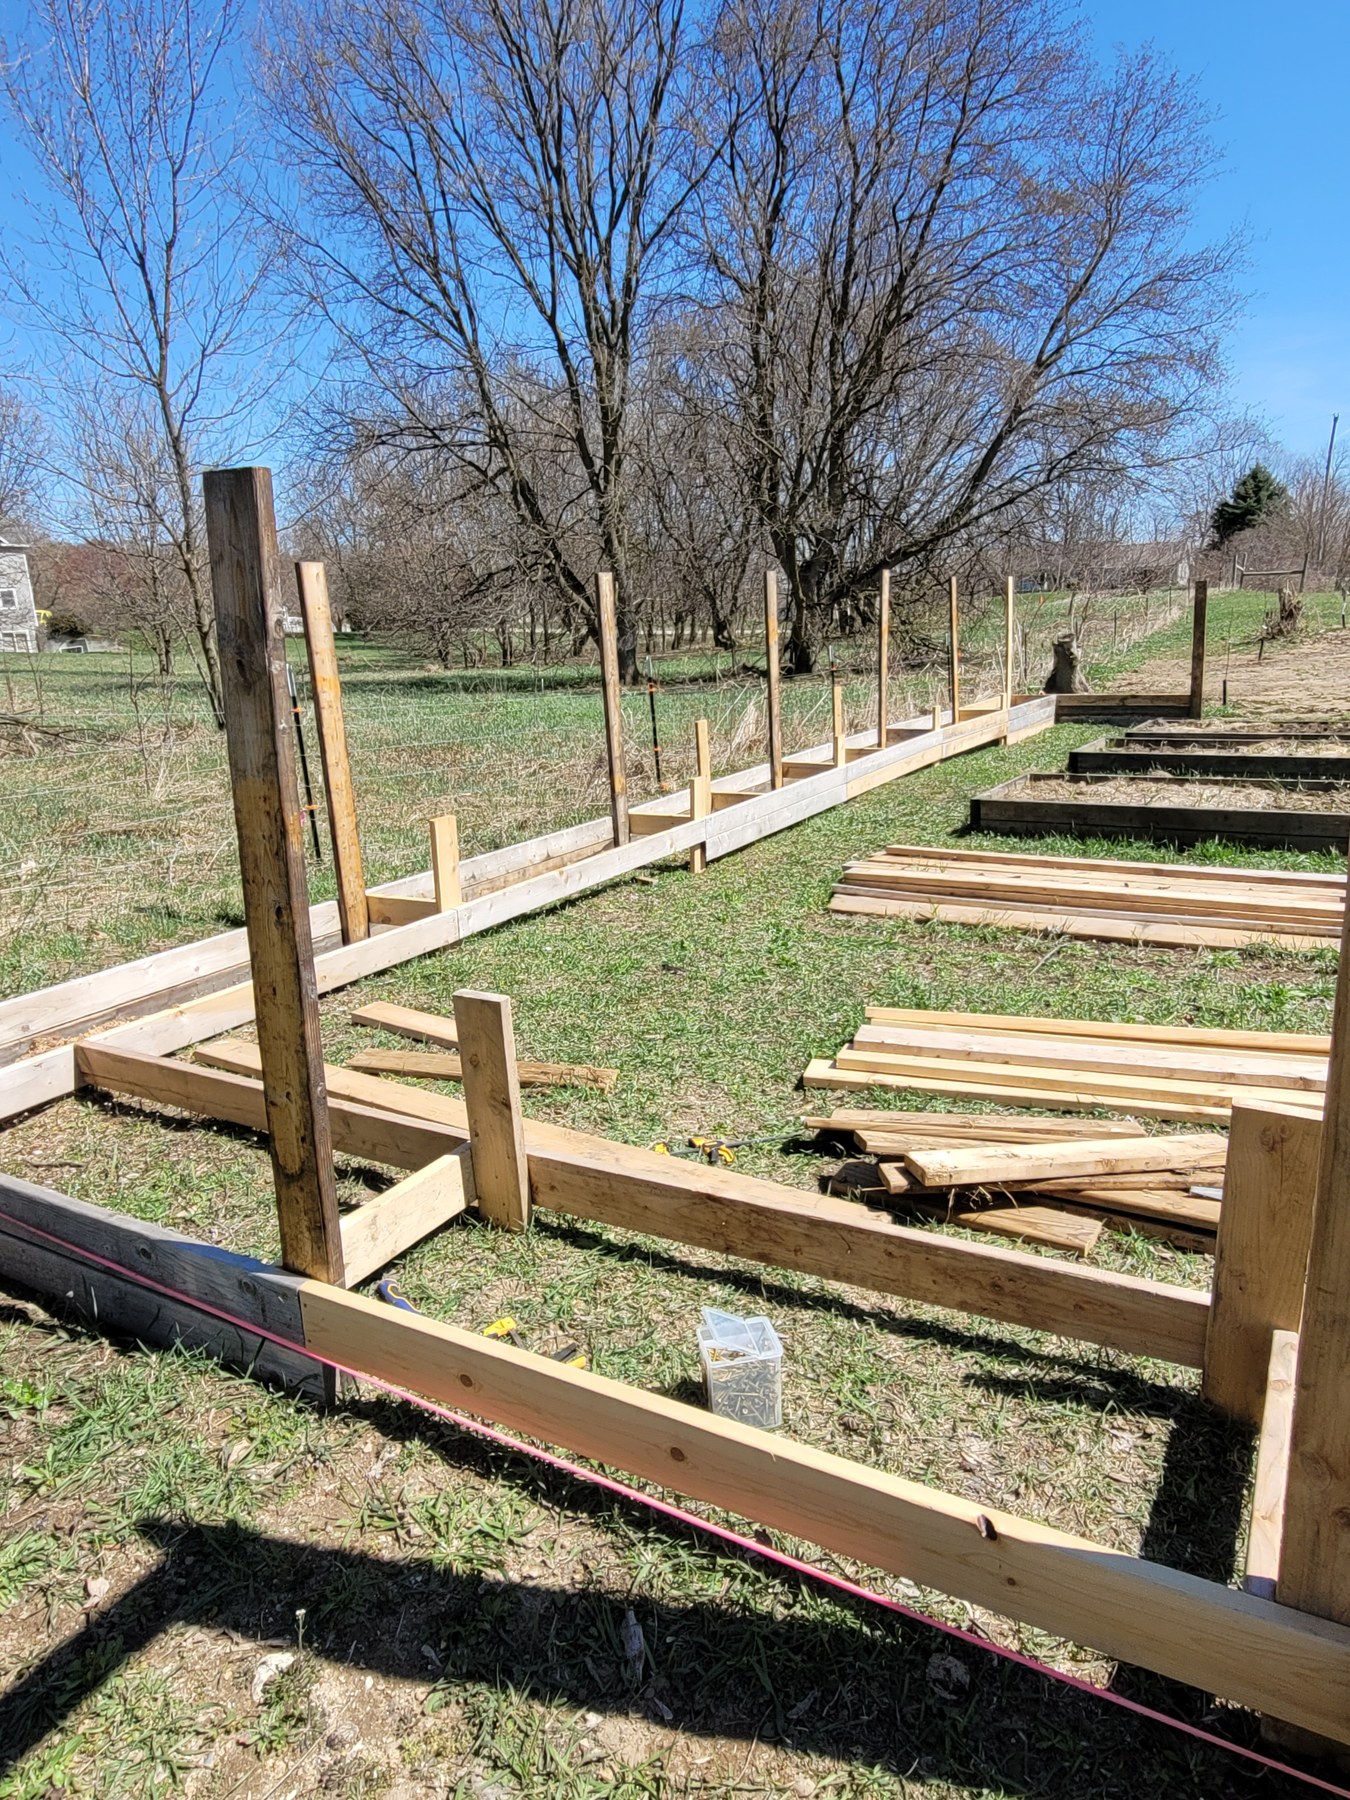
Back at work on the enclosure, April 2026.
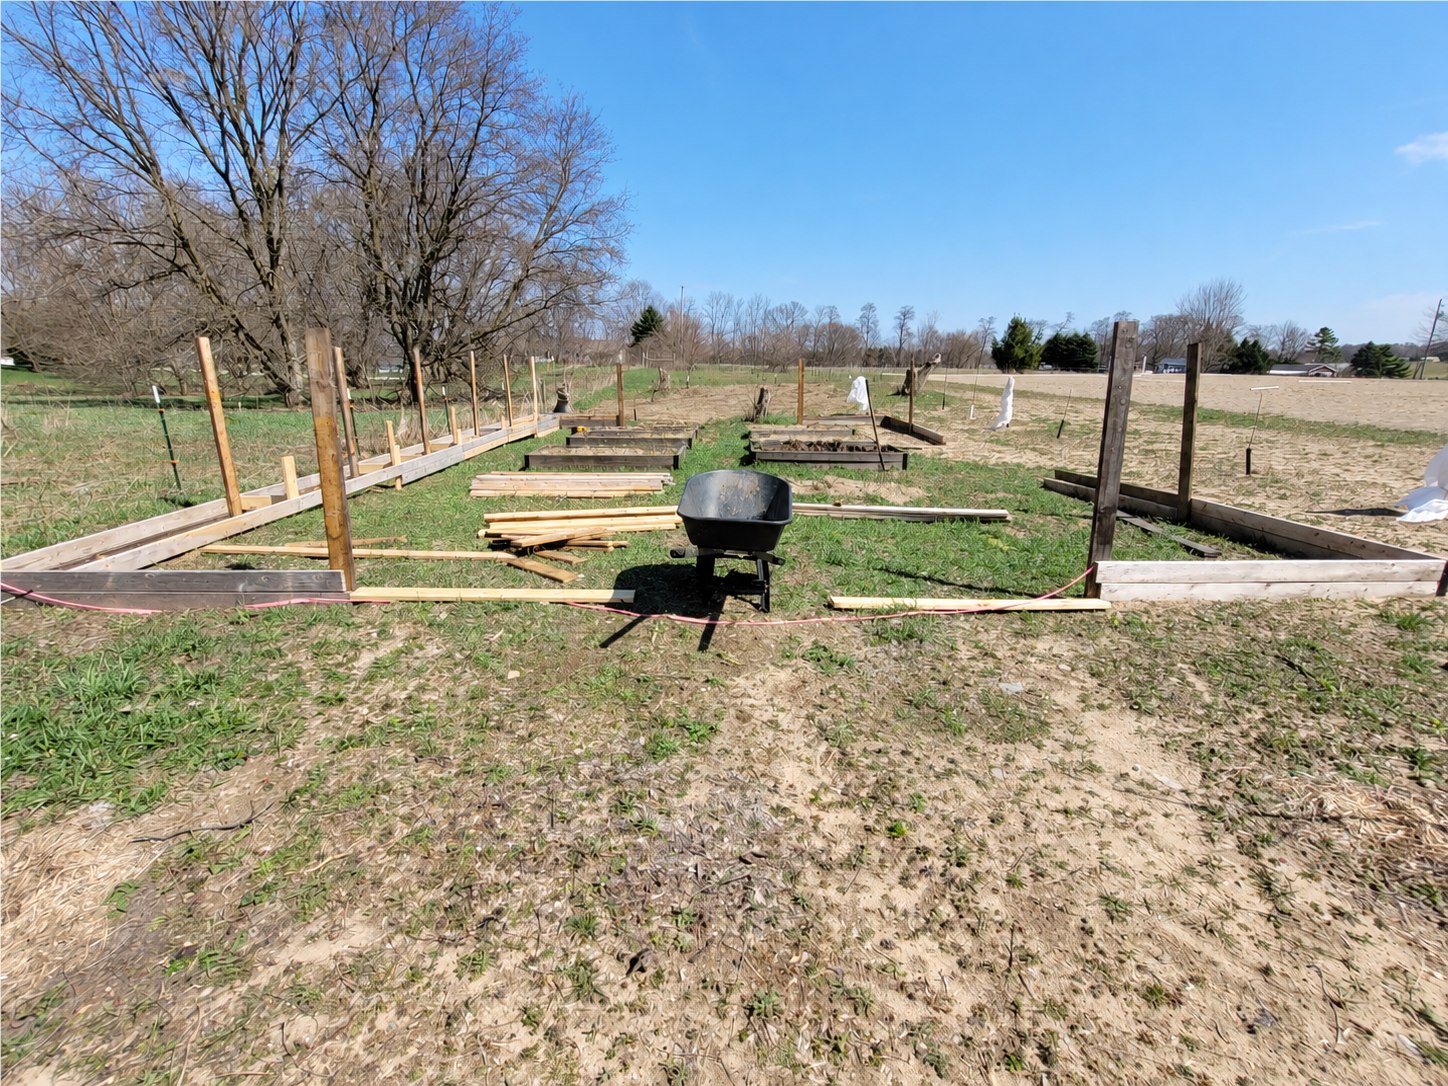
The enclosure taking shape, April 2026.
After each quadrant had the first level completed, it was time to join them with the arbors. I made sure the arbors were wide enough for my wheelbarrow to comfortably fit through. Four feet was perfect, and also made the board cuts easy. The arbors are, of course, 8 feet high.
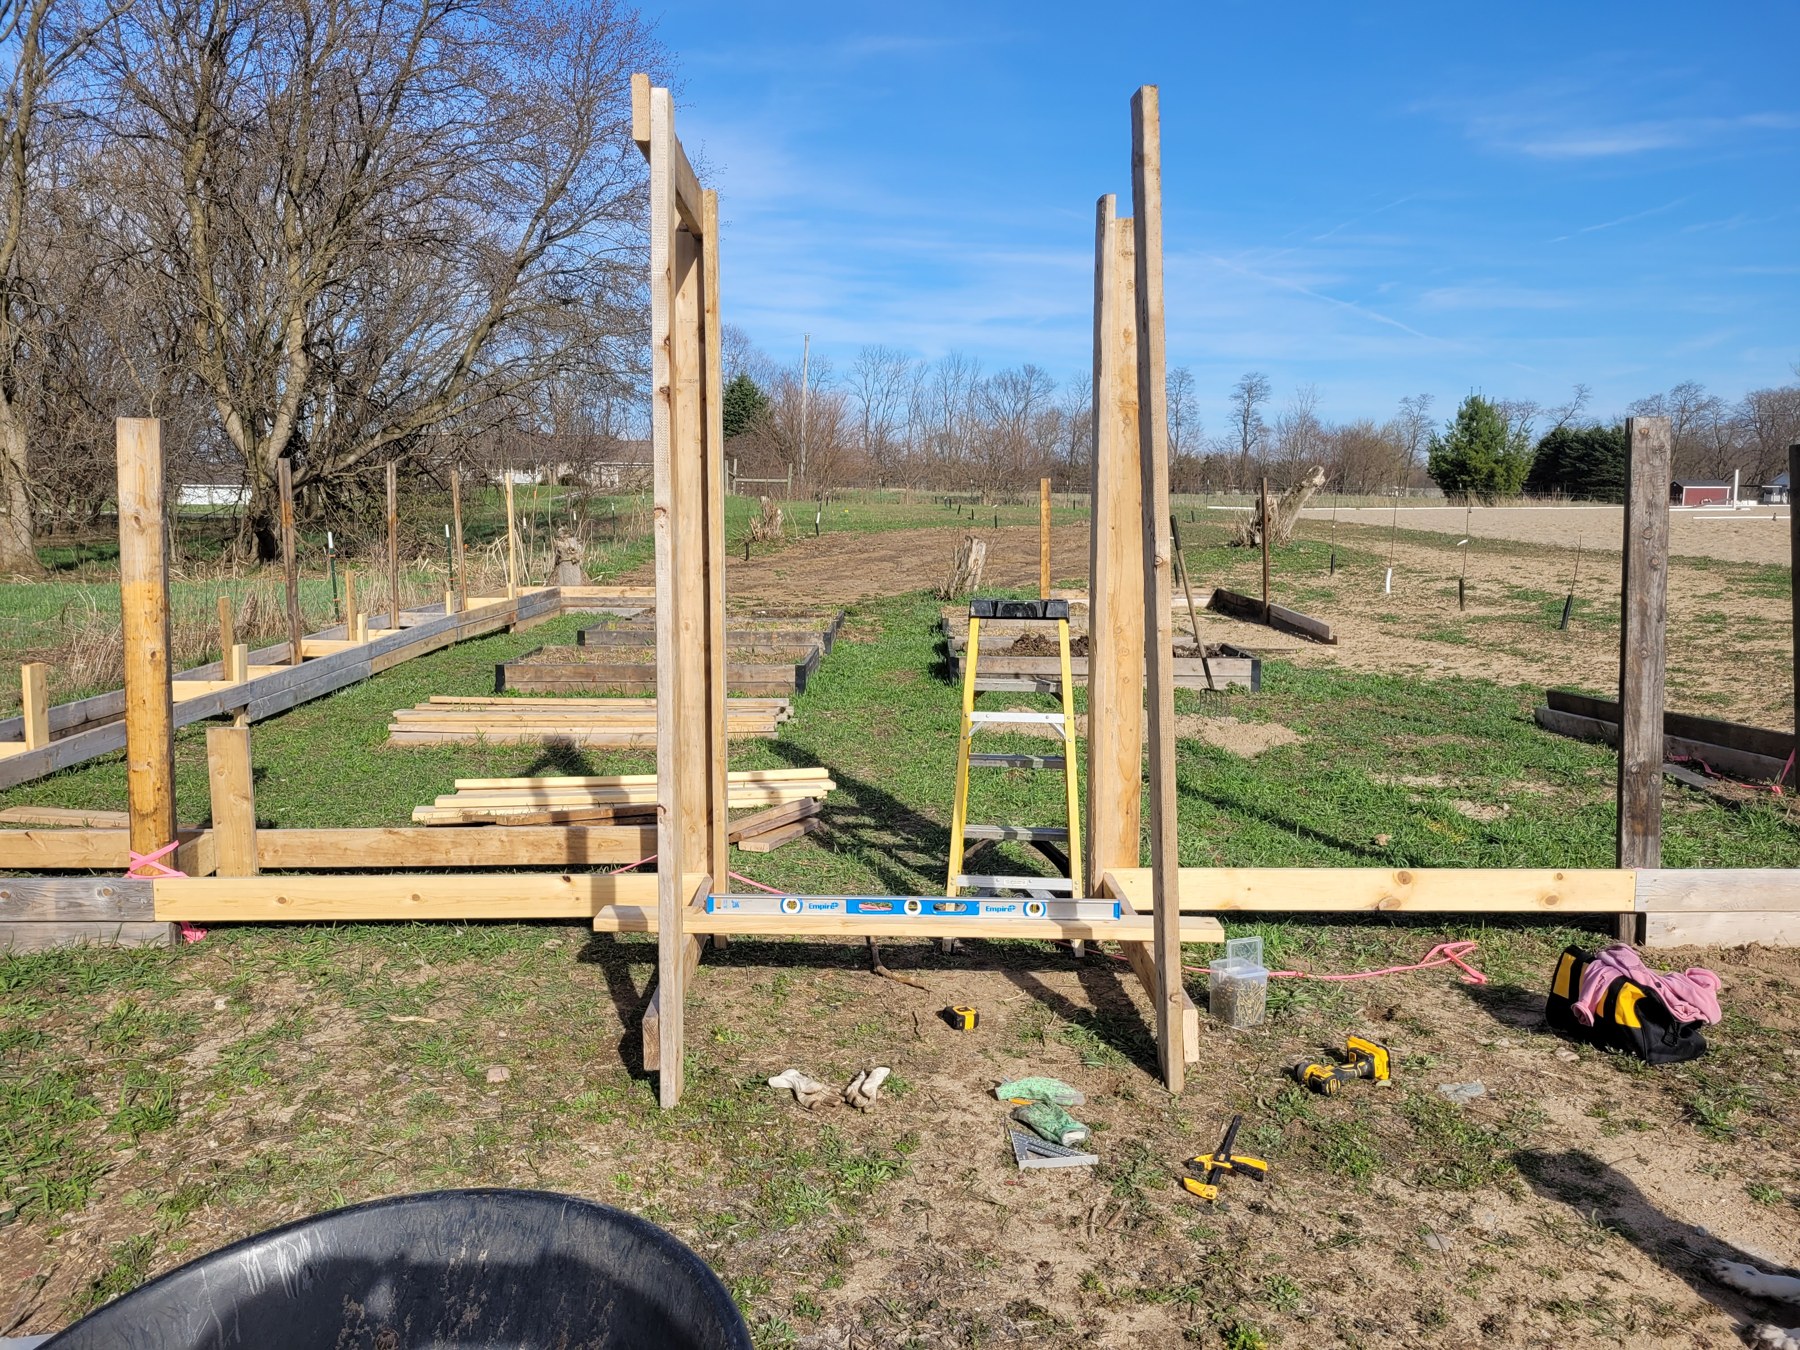
Throughout the process, I made sure each section was square and fairly level. As I proudly showed off my precision to my husband, he remarked, “It’s amazing what happens when you use a square and level as you build!” Ah...the jokes of an engineering brain.
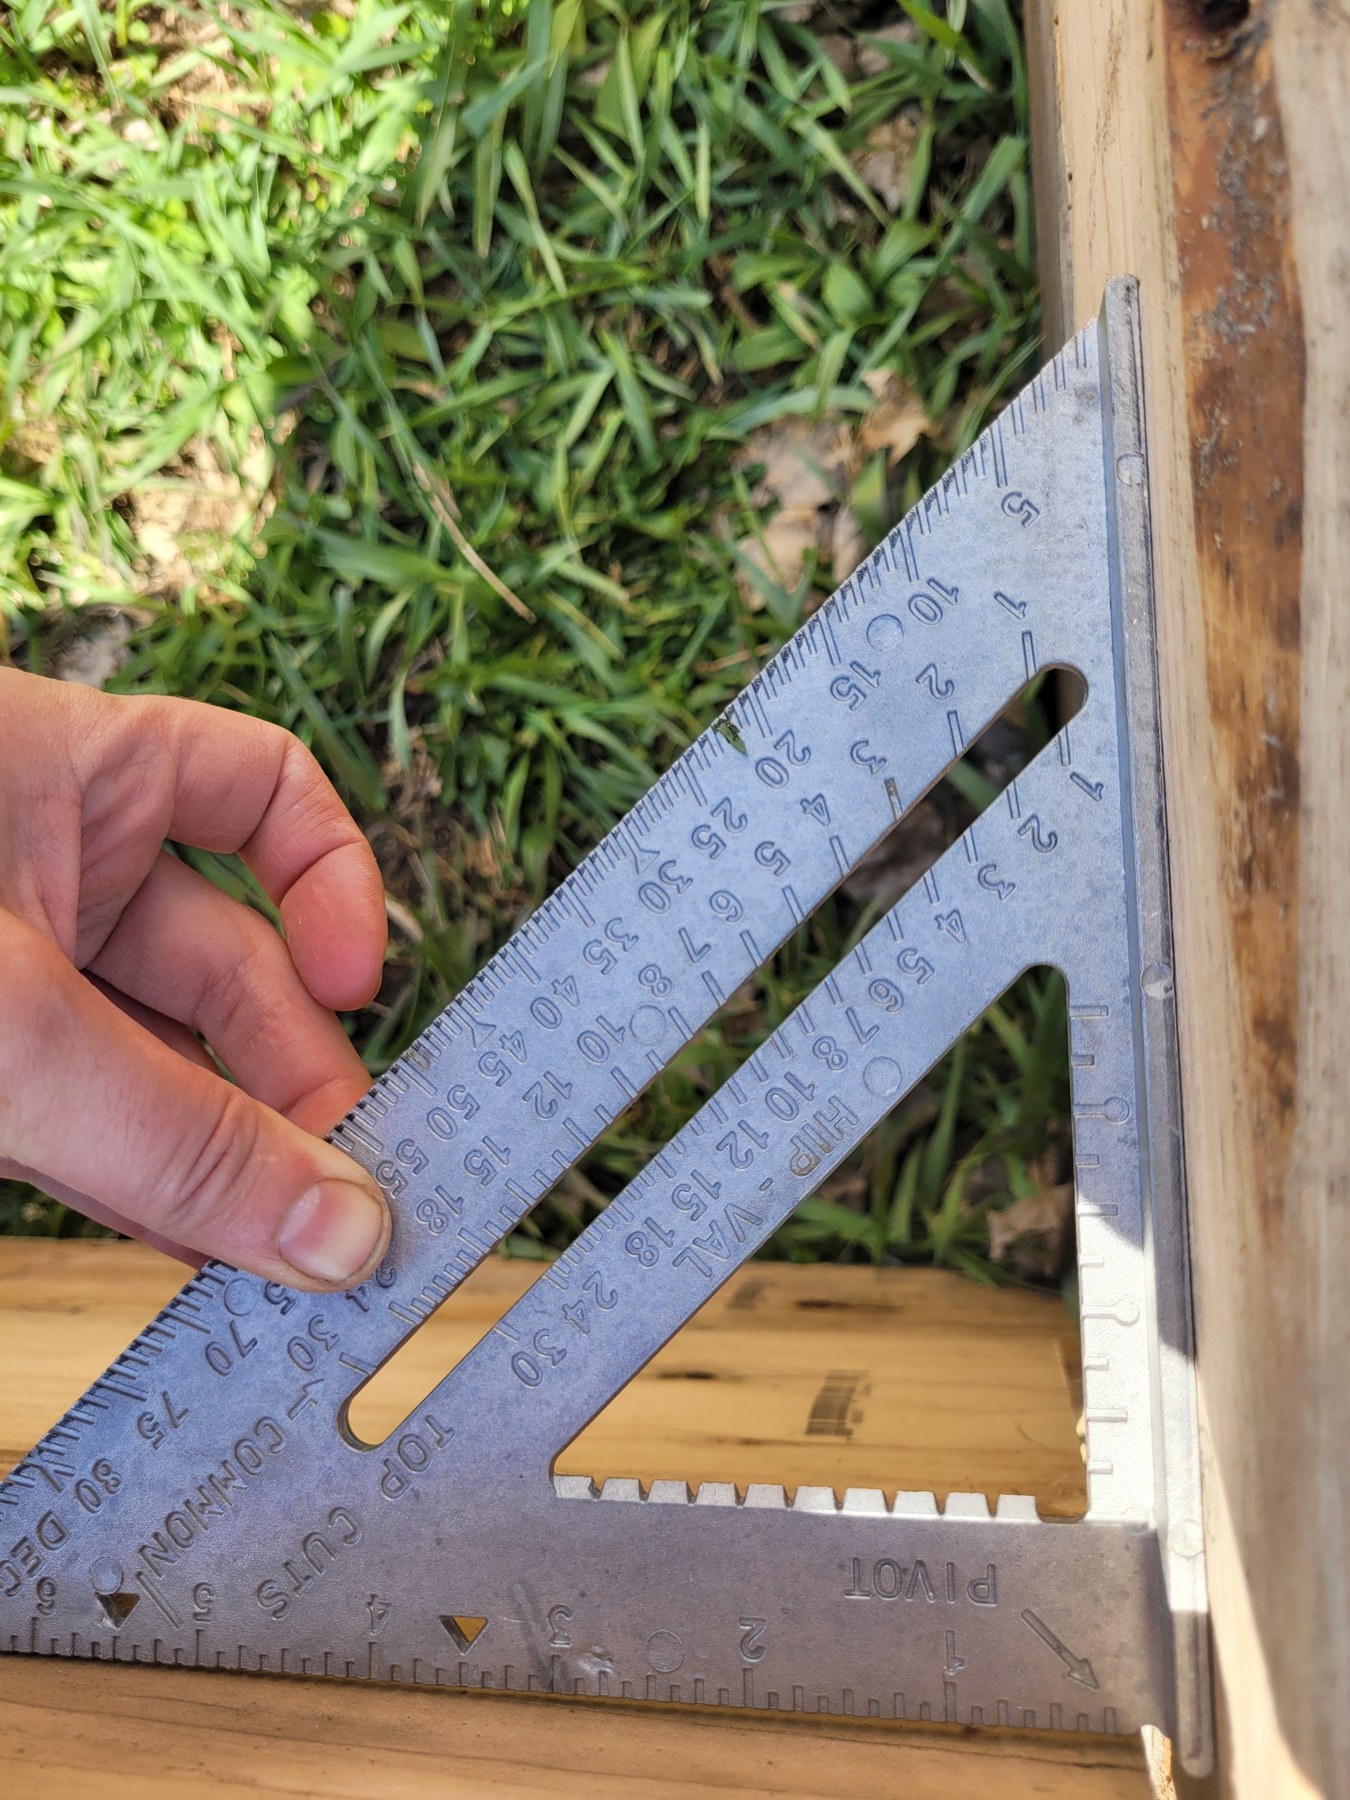
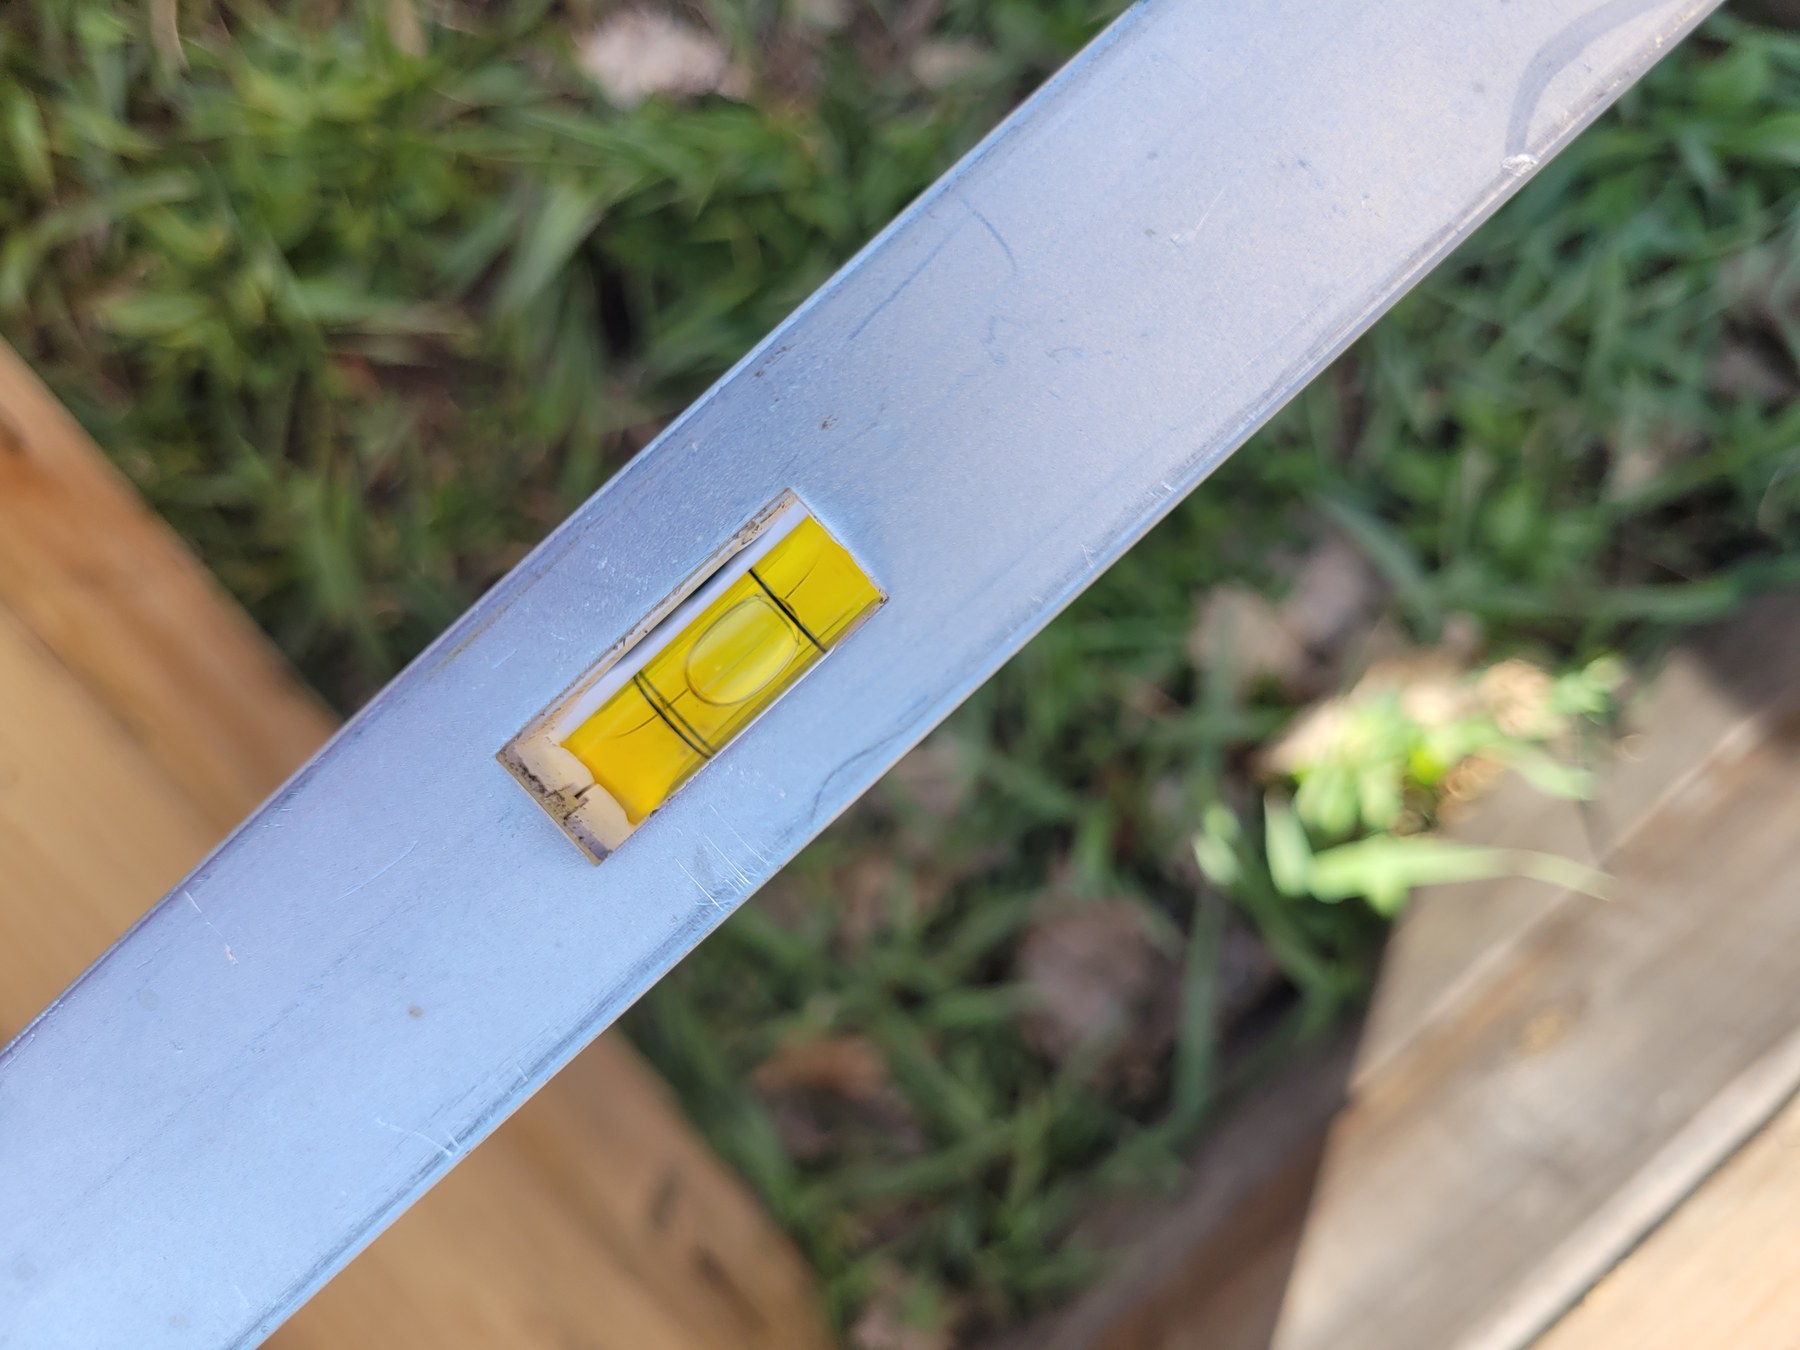
Once the first level was complete and the arbors were up, the project progressed much faster. Since the first level was...level, all I needed to do was stack boards on that level and screw them into the upright posts. Somewhere along the way, my planned eight-foot sections became six-foot sections beside the arbors. Still, that was no big deal and the cuts went fairly quickly.
After months of work, the beds were finally ready to be filled! In retrospect, I would have had compost and topsoil dumped in the middle of the garden before I built the enclosure. Instead, it was dumped just outside the enclosure, and I had to fill my wheelbarrow shovel by shovel, cart it to the beds, and dump it.
Still, the beds were ready in time for spring planting!
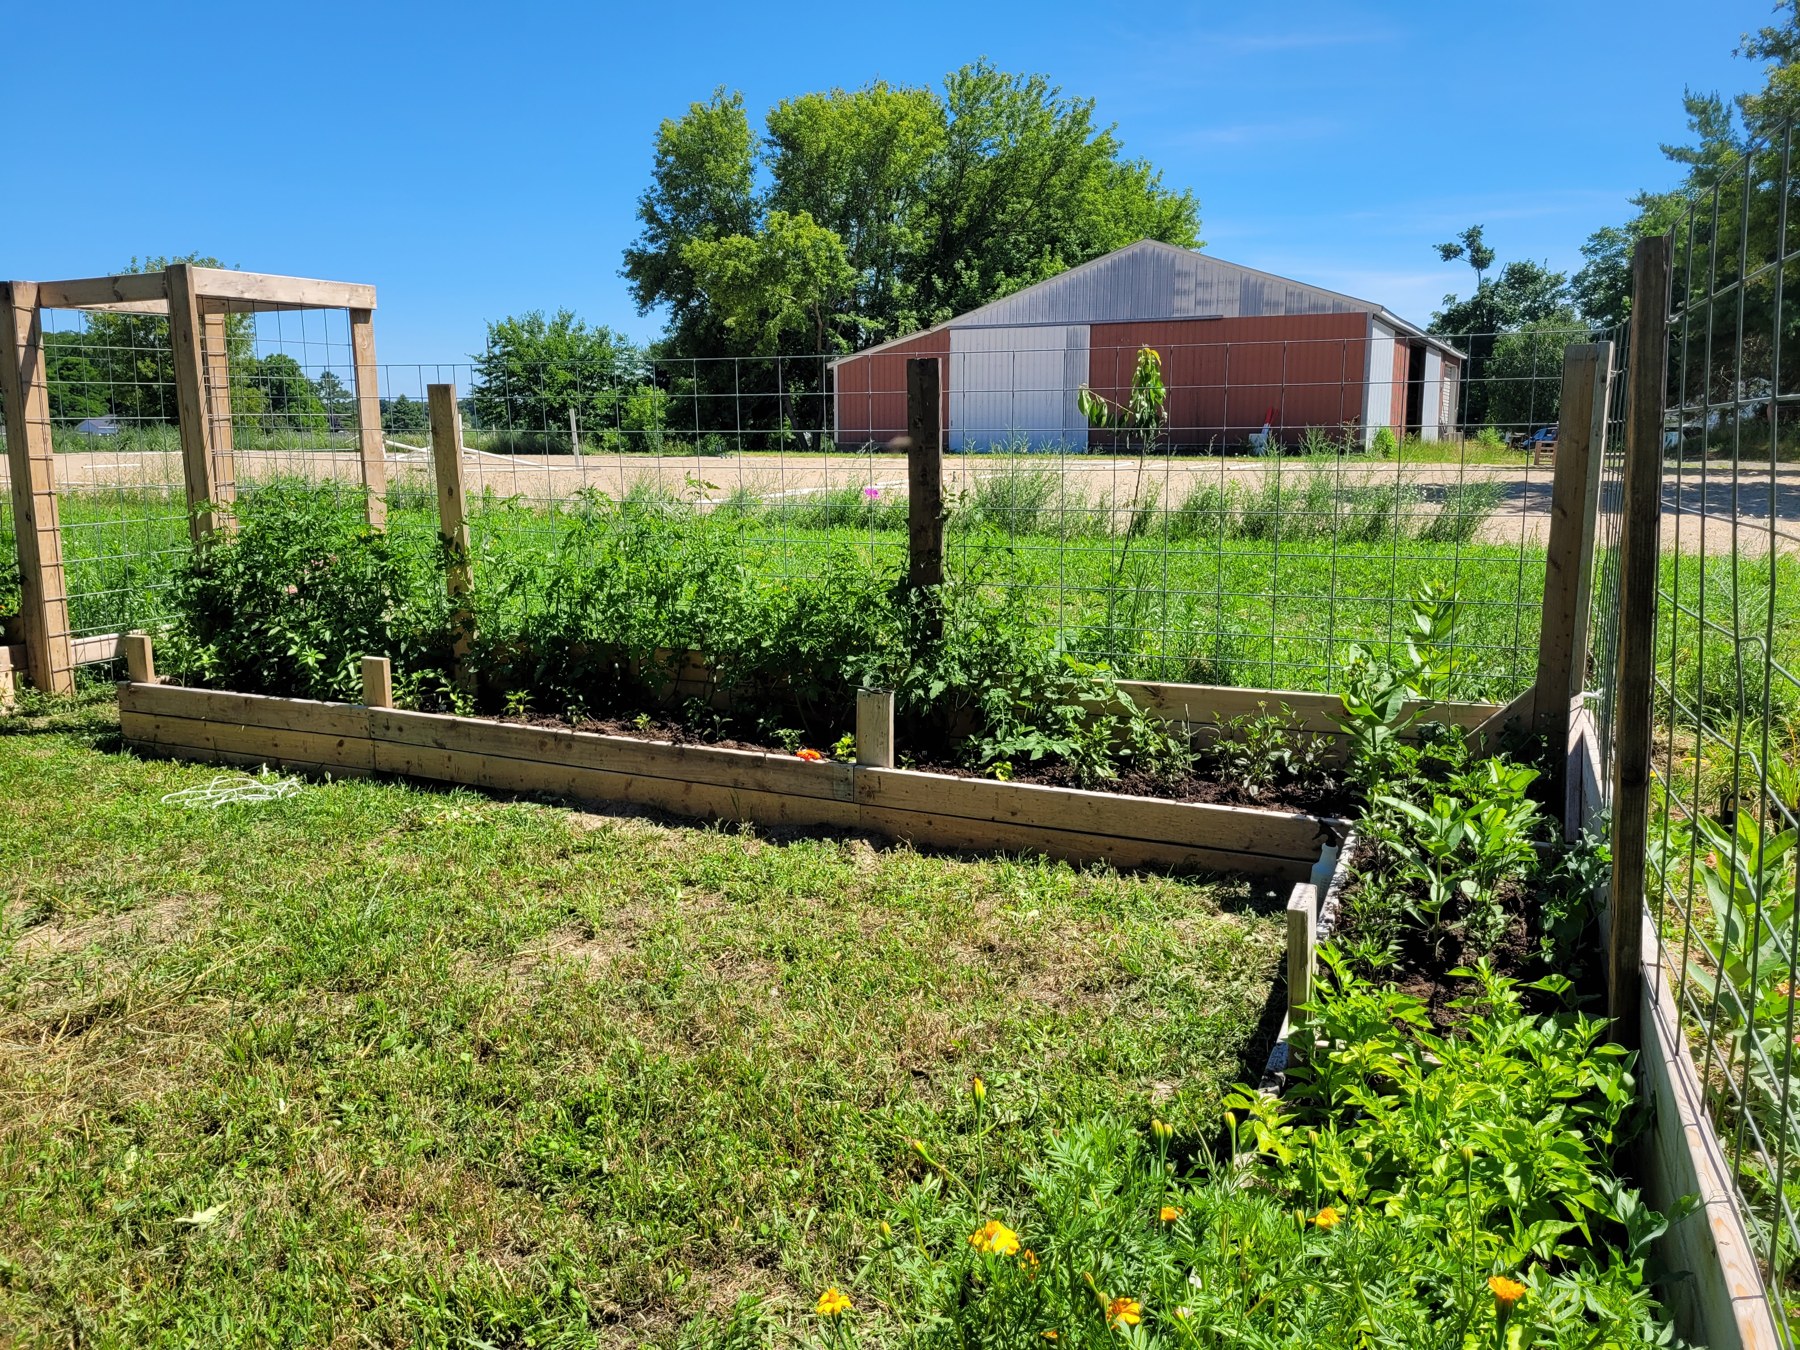
Room to grow
I love the new garden. It is functional, but still a work in progress. I paused its completion to focus on the growing season. I still need to add perimeter boards above the cattle panels. This will hide the slight differences in the heights of the upright posts. The arbors still need their gates. The front upright posts need to be trimmed, as do the ends of the cattle panels at each corner.
But there was one project that I couldn’t put off. I started it as soon as I was ready to say goodbye to my daily kale salads. I decided to reorient the island beds. It always made me bonkers that one walked through the main entry directly into a bed. But that was the only way I had enough space between beds. I couldn’t see a better arrangement at the time. Then, one day while weeding, it came to me!
I decided to make the island beds in a “U” shape. I measured it out, and sure enough, I could make it so that the sides lined up with the side of the arbor entry! The gaps between the U-shaped beds also lined up with the east and west entrances. Talk about perfect! I am sure this is math, but I feel very lucky that it all lined up!
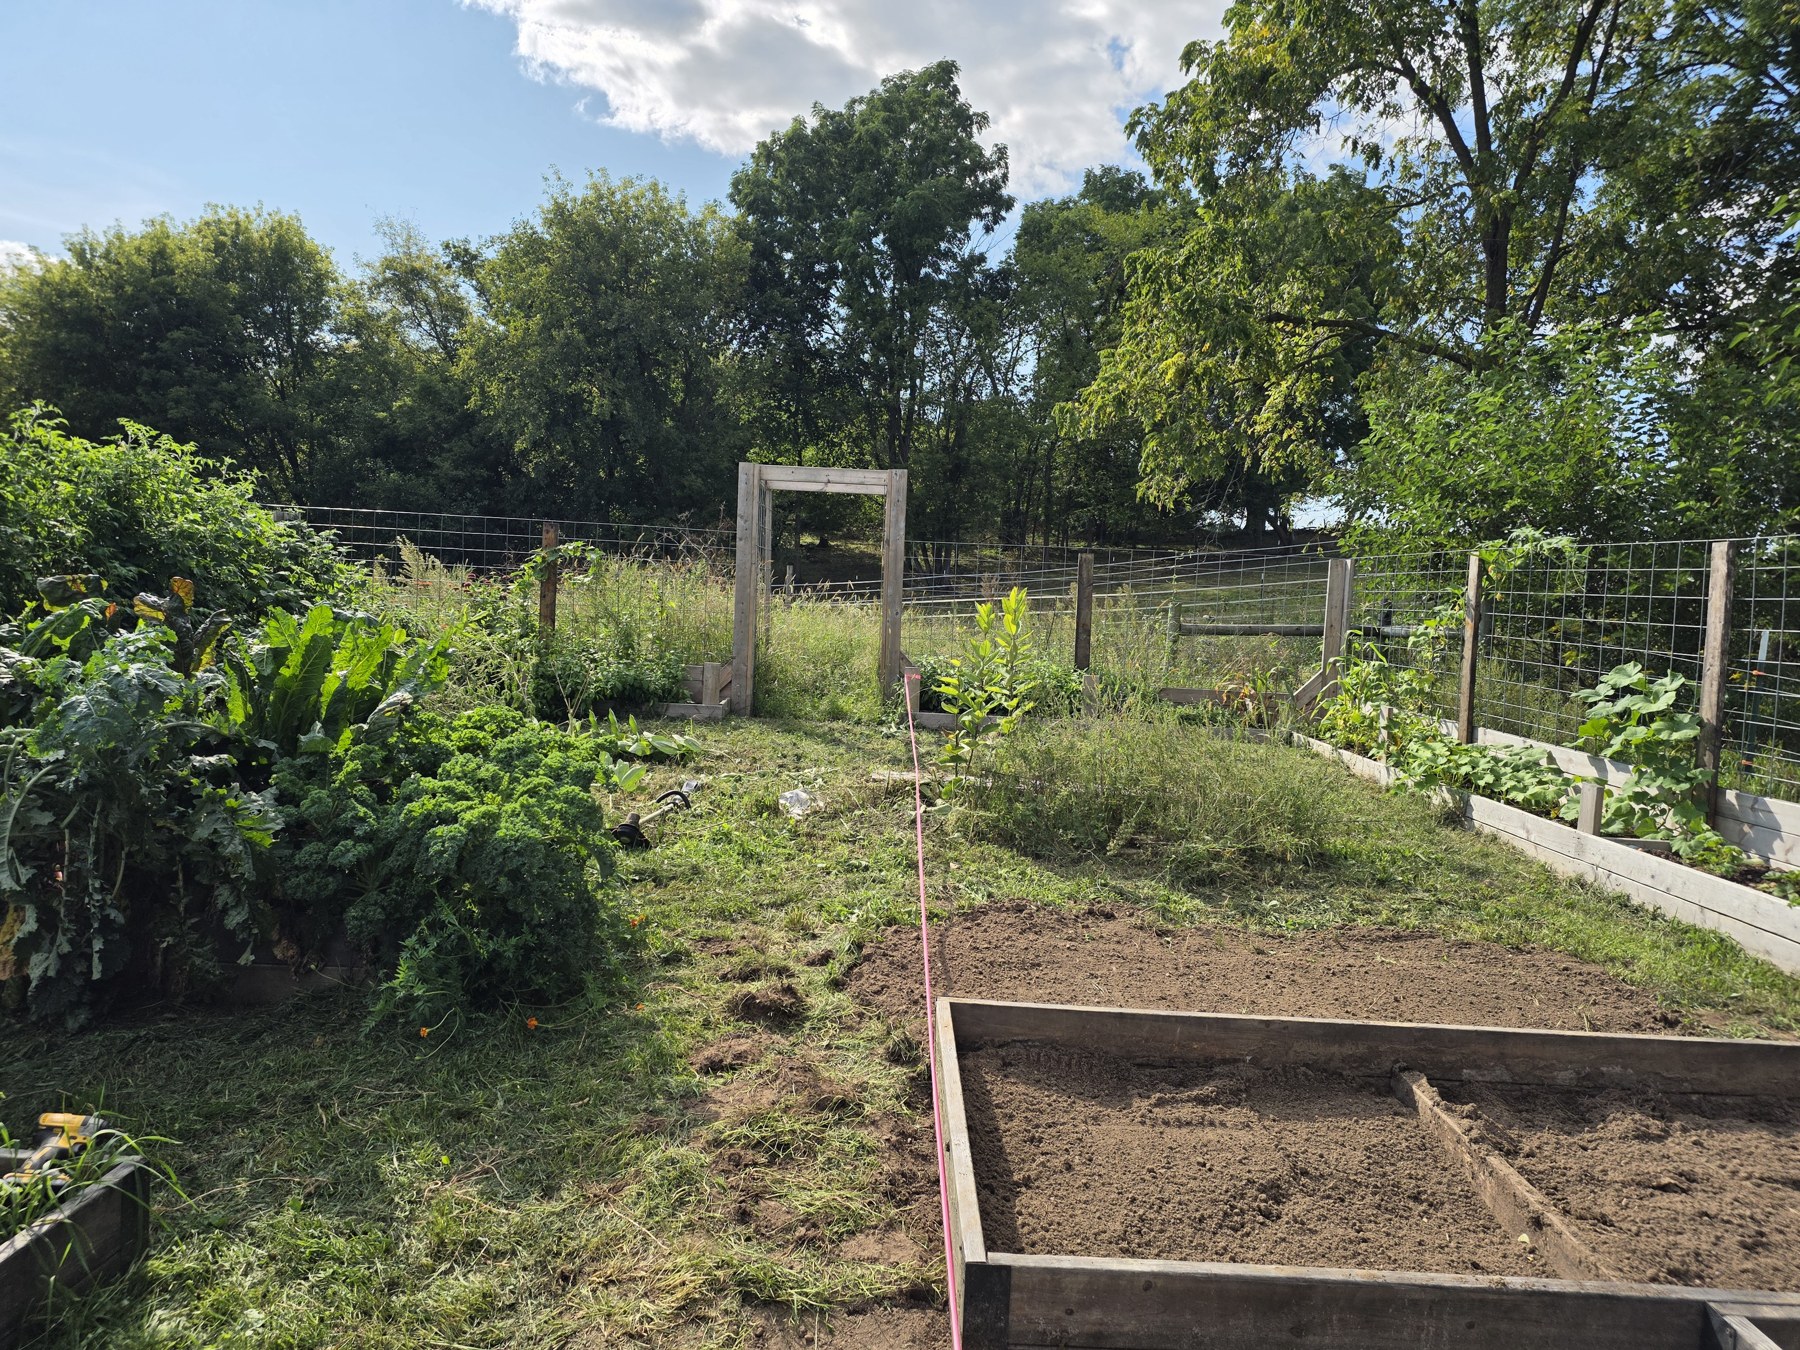
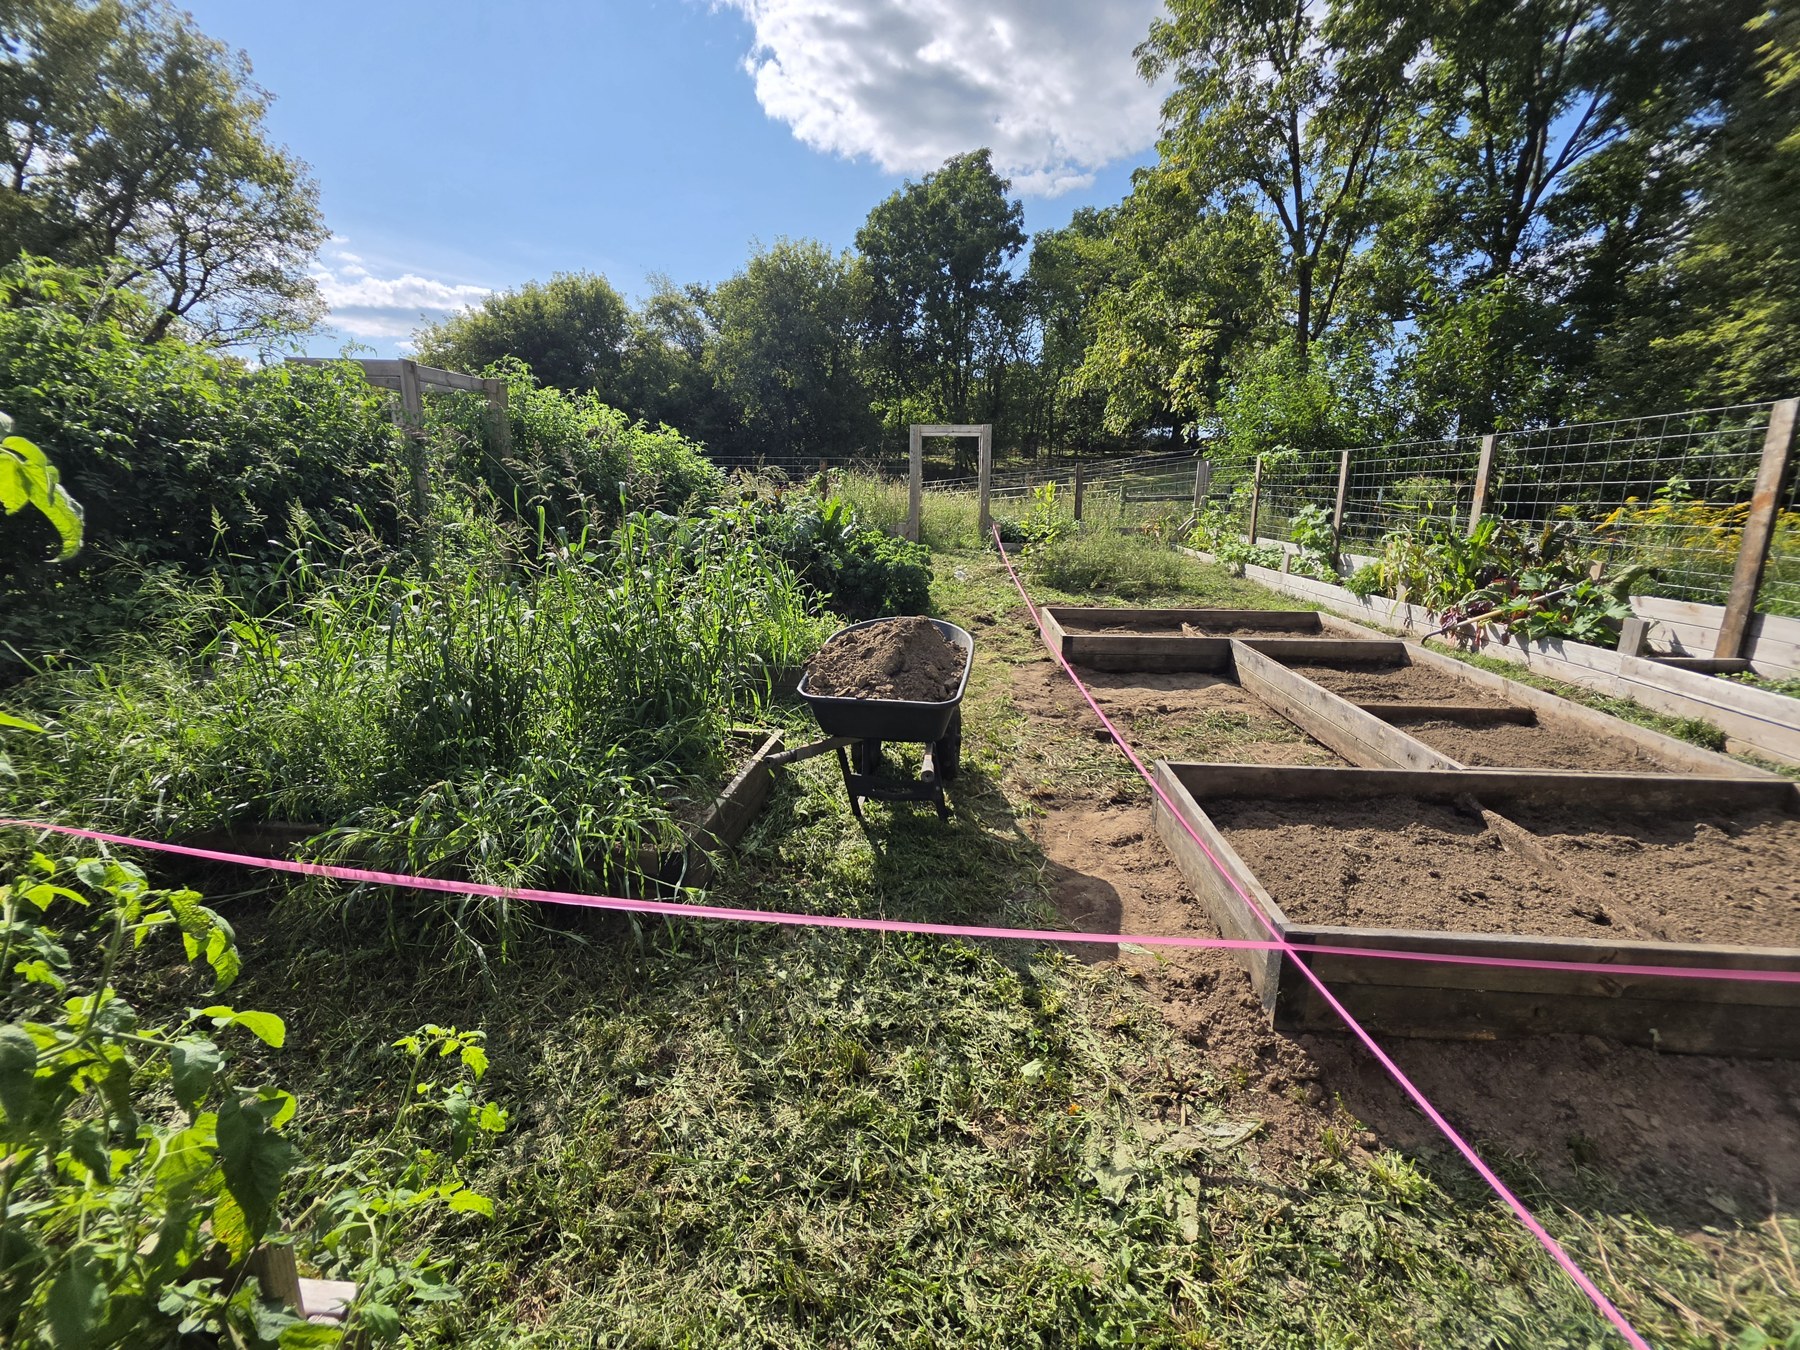
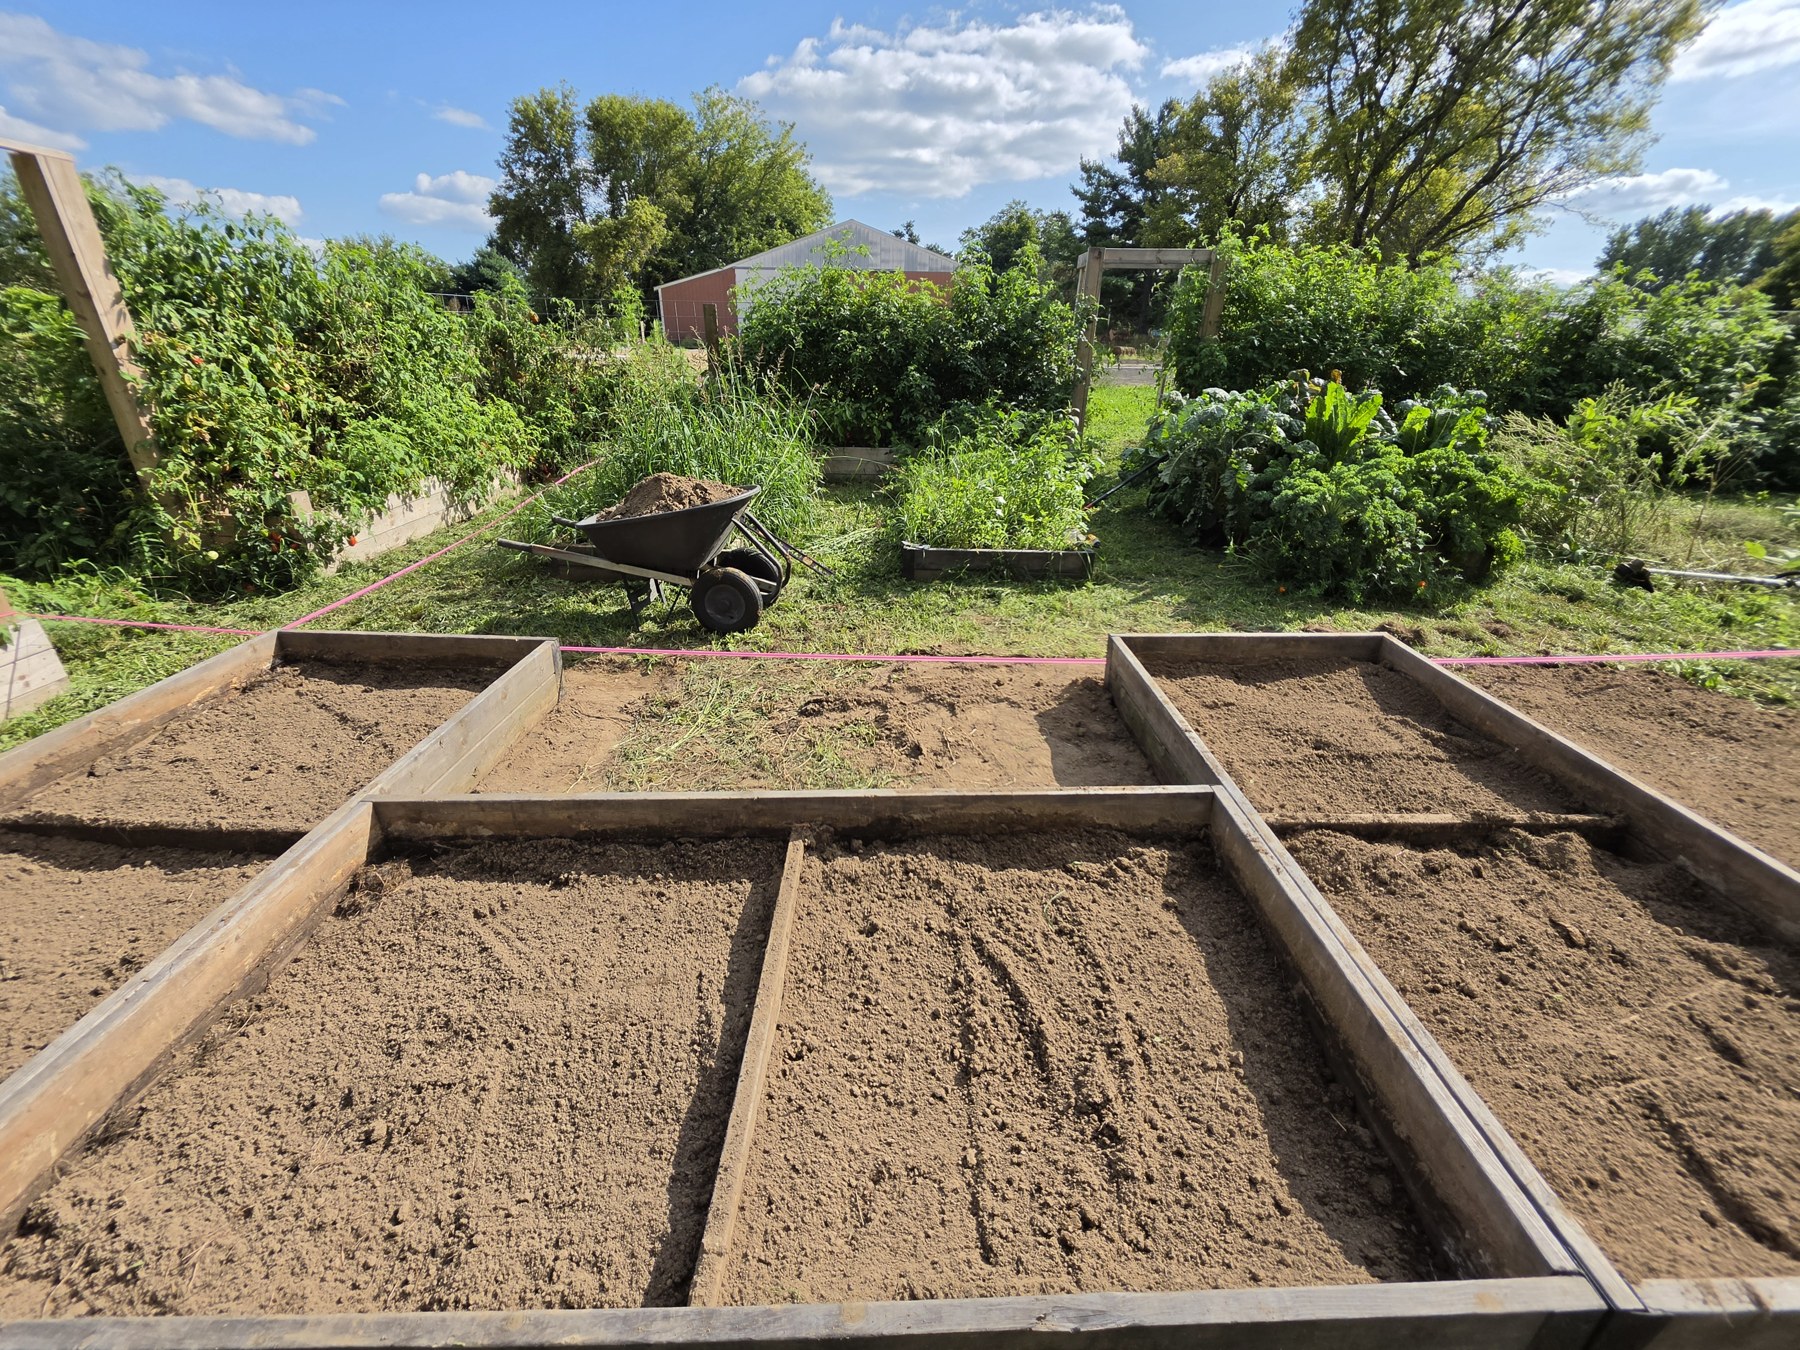
And so I began the back-breaking task of removing all of the dirt from the island beds, moving them into their U patterns, leveling them all over again, and refilling them. It was well worth the time and effort, and I plan to put in a nice patio next year!
I planted a couple of grapevines over the North Arbor. The blueberry bushes and brambles will be added in spring 2027.
For now, I’m enjoying a garden I built myself—and an entrance that no longer leads straight into a bed. There will always be another project. I just hope the next one involves a little less shoveling.